Your Cart is Empty
 |
 |
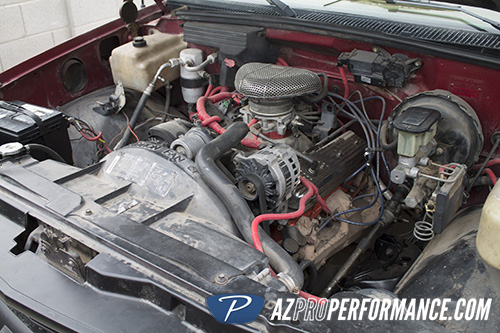
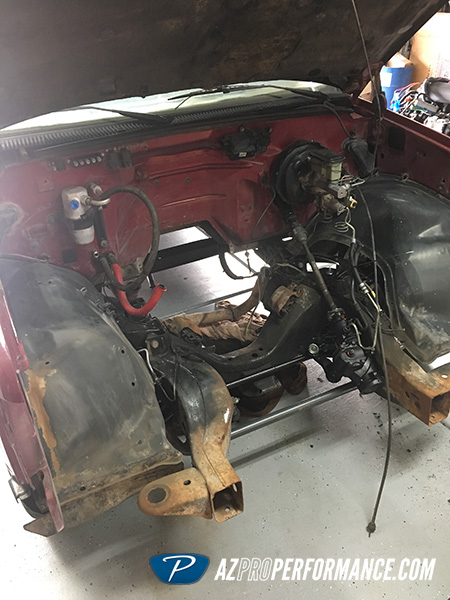
We have always wanted to build a 88-98 sport truck, and with the popularity of these trucks coming back, now was the perfect time. At the moment, these trucks are relatively cheap to pick up, and can be found with full power, AC, tilt, etc. For the base of our project, we started with a 1990 C1500 truck that we purchased locally. We were able to buy the truck for $3,300, in which the owner claimed a “383”, but we knew that probably wasn't true. Knowing we had plans to LS swap the truck, we did not worry too much about the engine in the truck, and was looking more for a straight & clean body.

Our intention was to see how inexpensive we can do the swap, and kept record of most costs. By using as many parts from the donor Yukon, we were able to keep cost down and give it a more factory look. Almost as if the truck came with a LS. At the end of this article, we will breakdown the cost we incurred, which covers most items, and maybe just missing a few misc. items.
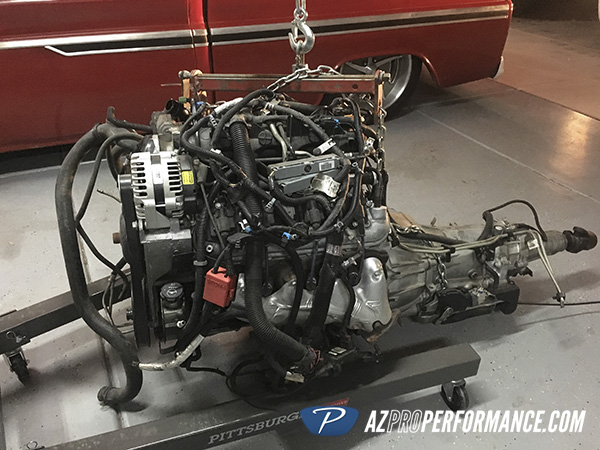
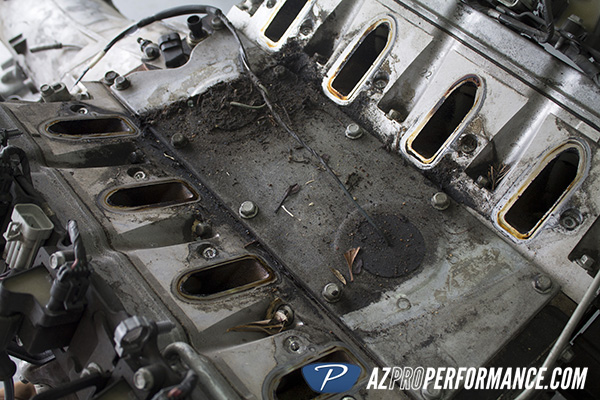
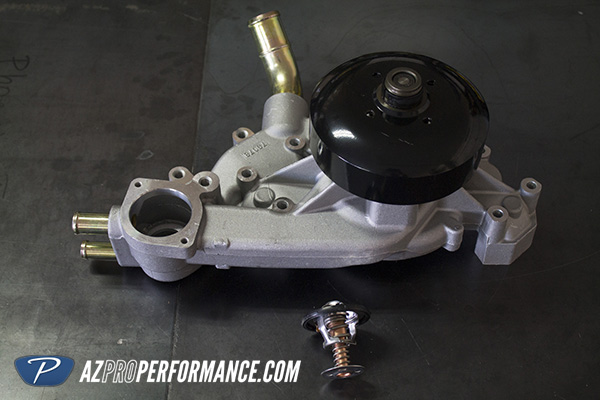
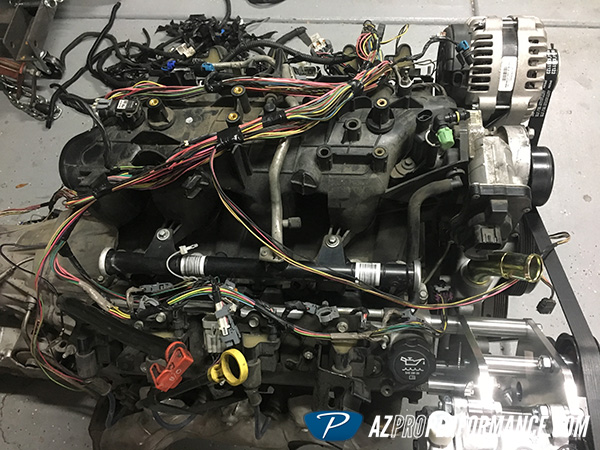
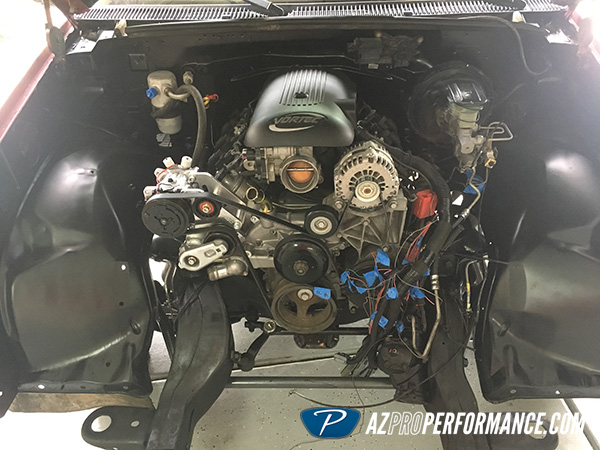
The engine is a 5.3 / 4L60E combo that was pulled from a 2005 Yukon. The first tasks were to clean up the engine, and do some preventative maintenance to it, knowing it has over 100K miles. Plus, it is easier to work on them out of the truck and do these things now, rather than later.
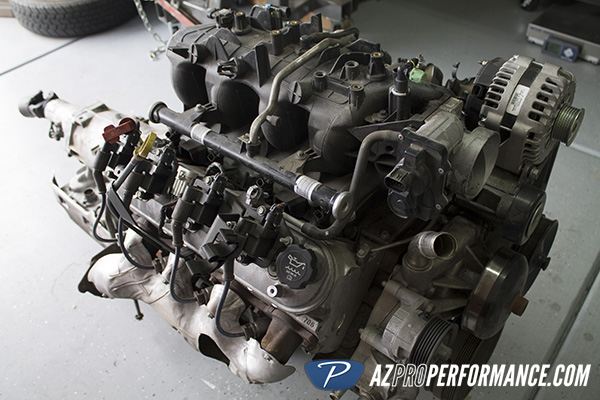
We stripped the complete harness off the engine. The water pump, knock harness in the valley cover, intake gaskets & thermostat are all replaced.
Water Pump: Gates 45005
Knock Harness: Dorman 917-033
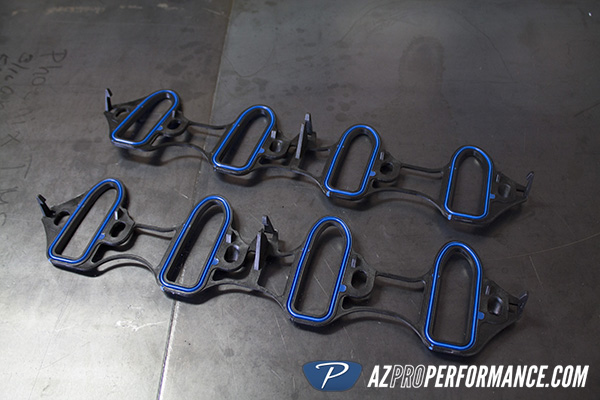
Intake Gaskets: Fel-Pro MS92211
Thermostat: Motorad 456-187
 |
 |
 |
 |
 |
 |
 |
 |
 |
 |
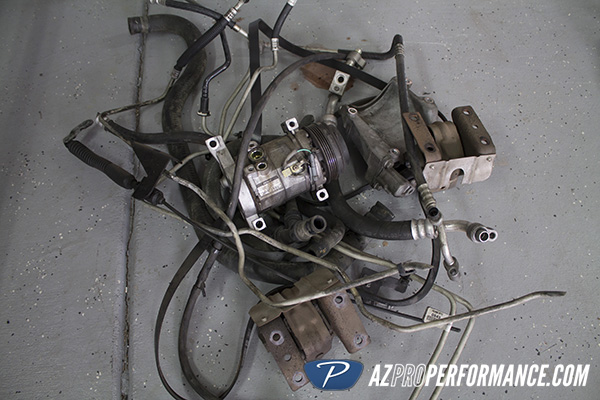
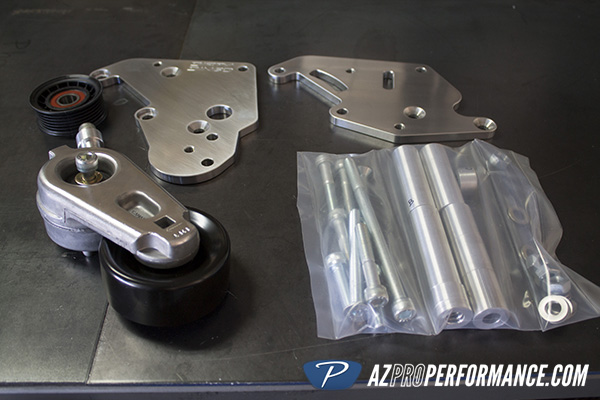
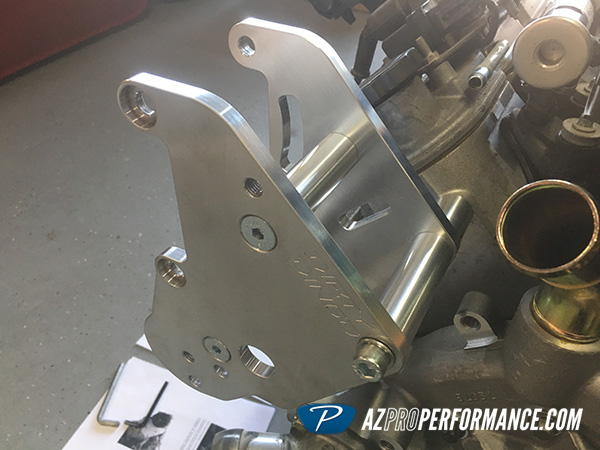
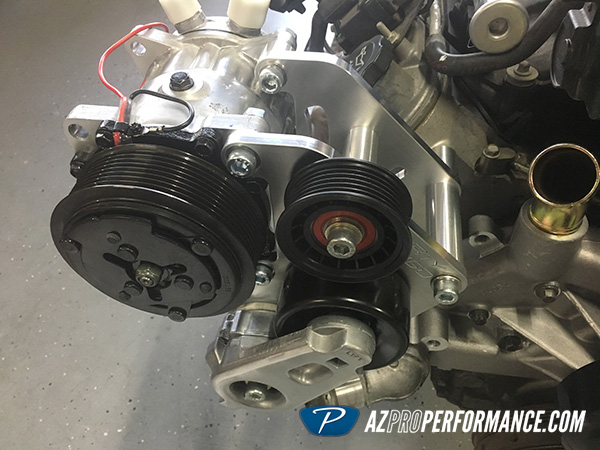
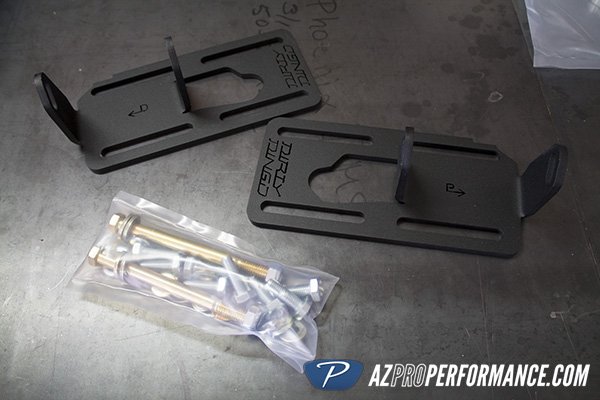
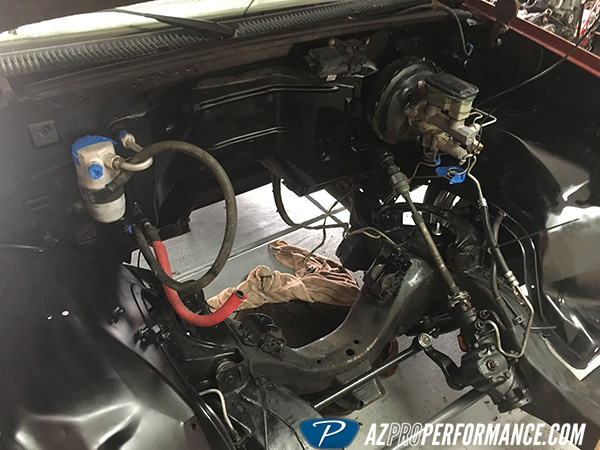
Knowing we will have AC in the truck and re-use most all that is there, we needed a bracket for the compressor. All other accessories were used from the 2005 Yukon. We turned to Dirty Dingo for the AC bracket, which mounts it up on the passenger side, same area as the factory compressor. We could have used the R4 compressor that originally came with the truck, but decided to replace it with a new Sanden 508. Using the Dirty Dingo adapter on the back of the Sanden 508, allowed us to use the factory AC lines with little “massaging” to get them to line up. No need for new hoses or anything, which kept costs down. We do prefer and recommend making new hoses for a cleaner look and not "massaging" 30+ year old AC lines.
AC Bracket: DD-LS-SANDEN-AC-TR
 |
 |
 |
 |
 |
 |
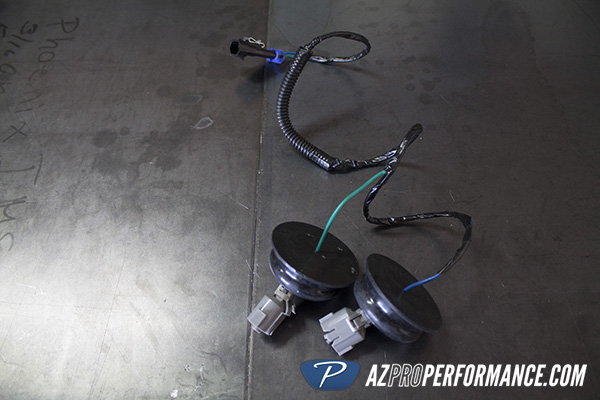
To adapt to the factory vacuum booster on the truck, we needed to get a vacuum port fitting to go into the back of the manifold. Some LS engine will have this blocked off, like ours did. This barbed fitting is a AC Delco part, 12559760.
 |
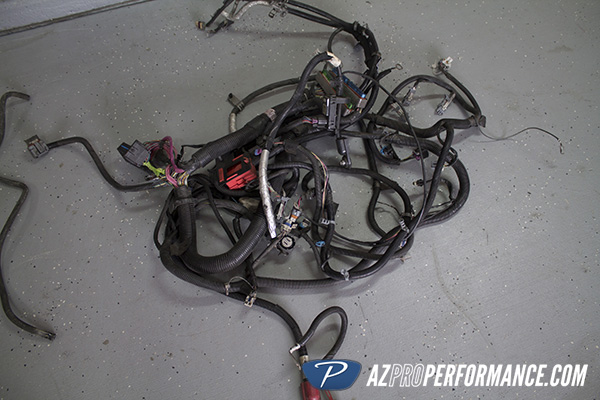
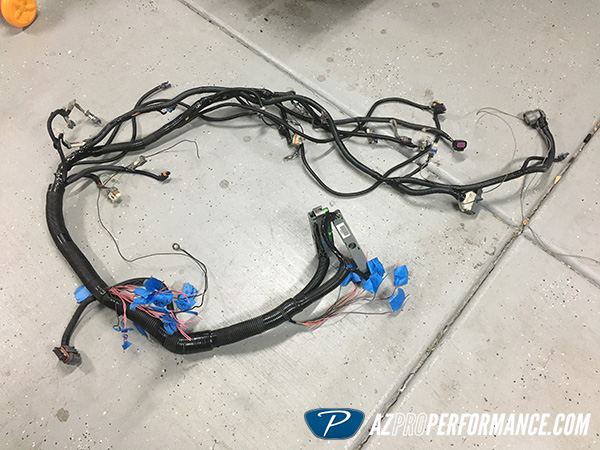
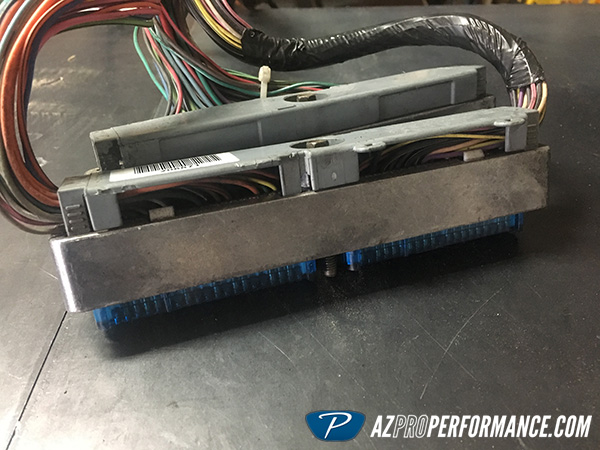
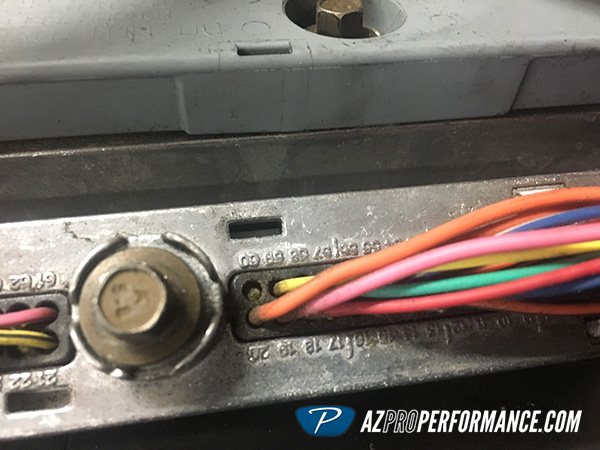
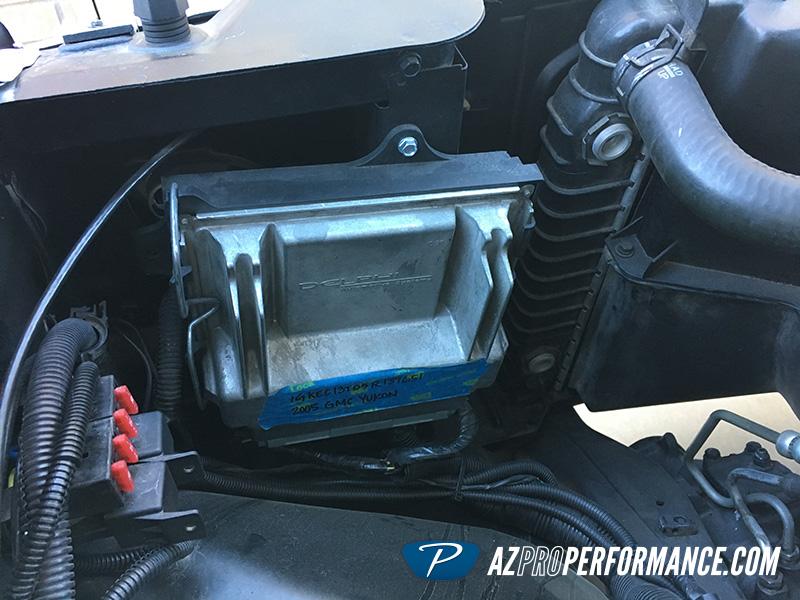
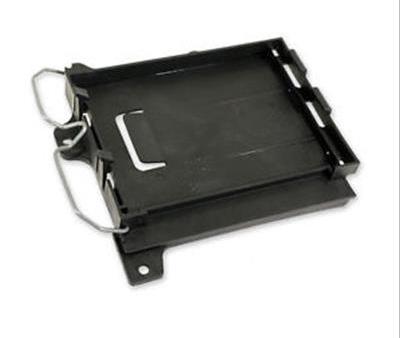
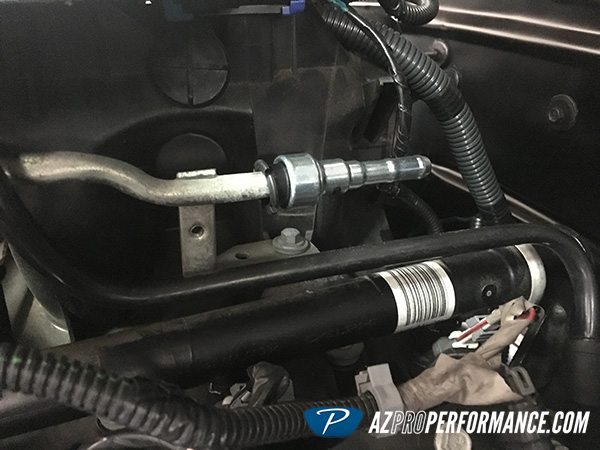
Now that we got the engine all prepped for install, it was time to work on the harness. This was our first attempt as modifying a harness, which went smoother than I thought. Just have to have patience and keep very organized. LT1swap.com is a great source for everything needed to modify your own harness. It will even tell you where to get the fuse block and relay connectors. I mounted the computer to the core support with a GM mount, PN 15995679.
 |
 |
 |
 |
 |
 |
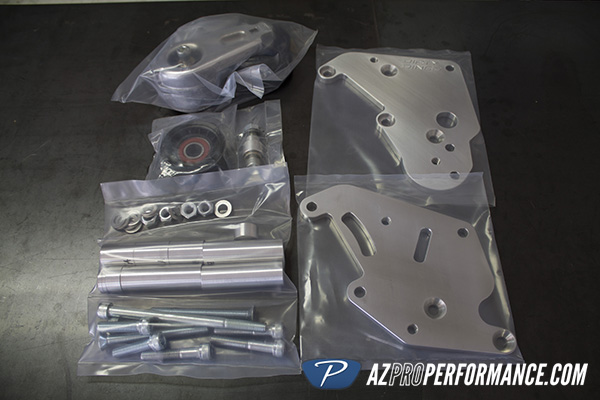
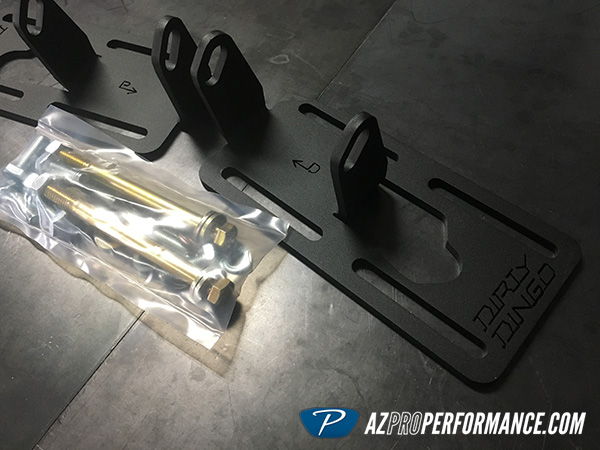
We once again used Dirty Dingo for the mounts to set the LS in the truck. These mounts make it so much easier to install, since they have adjust for both front-to-back and side-to-side. Being we used the factory exhaust manifolds from the Yukon, we had to shift the engine ever so slightly to the drivers side, and also move it back some.
Dirty Dingo Mounts: DD-2550C
 |
 |
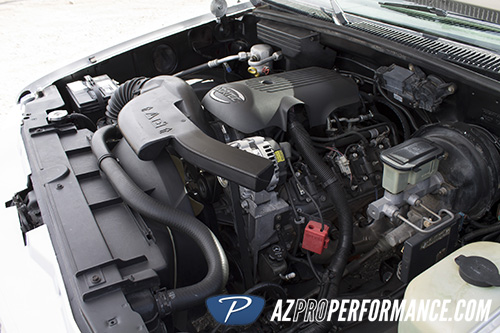
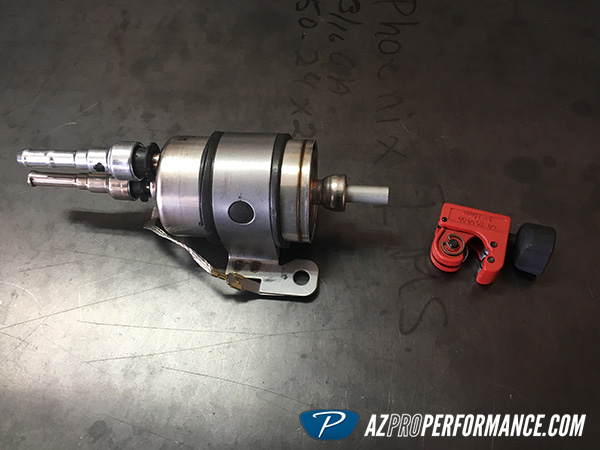
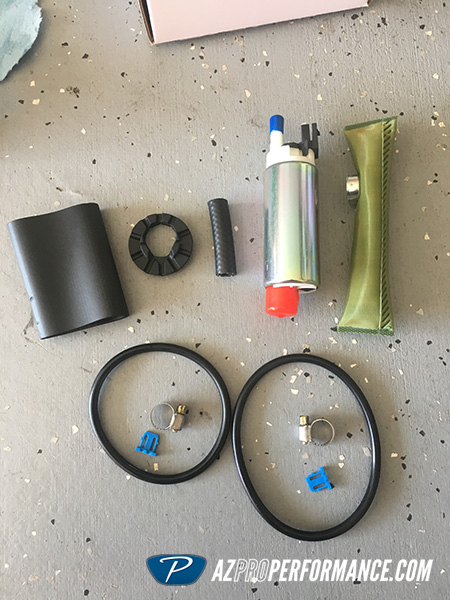
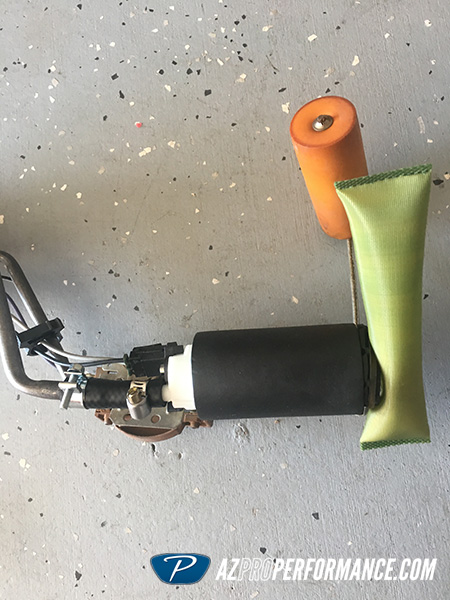
Once dropped in, it looked right at home in the engine bay. We modified the factory intake to clear the new compressor bracket, and added a aftermarket file to the end. Even the factory clutch fan worked in the shroud, and cools the truck great. Now it was time to address the fuel pump. The earlier 88-95 trucks with the TBI engine used a low pressure fuel injection system / pump. We replaced the in tank pump with a AC Delco unit that could provide the pressure needed for the LS engine. This pump adapted right to the factory drop-in assembly. Keep in mind, because the previous system was low pressure, you will need to change all soft hose on the fuel lines, since it cant handle the higher pressures of the new pump. Using XRP fittings and hose, we plumbed in a Corvette fuel filter and regulator combination to make things easy. This was installed in the same place as the factory filter. If installing in a 96-98 truck, then you can use the pump already in the tank, and then adapt the mentioned Corvette fuel filter / regulator inline.
The upper radiator hose and PS lines from the Yukon were able to be used as well. They hose worked great, and used a steam port hose adapter, to plumb the steam port hose into the cooling system. The upper radiator hose was a great fit into the factory radiator.
Corvette Fuel Filter / Regualtor: WIX 33737
In Tank Pump: AC Delco EP381
Note:
We did not use the barbed fittings and clamps you see attached to the fuel filter and fuel rail. After a few hundred miles, we found leaks and proved very difficult to seal the system. This is not something we wanted to take a chance on, so opted to upgrade to all AN fittings from XRP.
 |
 |
 |
 |
 |
 |
 |
 |
Hope this helps the next guy doing an LS swap in his 88-98 truck, and provide a general walk through of what we did.
Cost Breakdown:
5.3 Engine / 4L60E Trans: $1,900
Fuel Pump: $30
Knock Harness: $22
Intake Gaskets: $34
Thermostat: $11
Water Pump: $65
Vacuum Port Fitting: $8
Dirty Dingo AC Bracket: $250
Dirty Dingo LS Mounts: $105
Belt: $31
Fuel Filter: $45
Fuel Fittings / Line: $150
Exhaust: $300
Air Filter: $28
Harness Fuse Block Parts: $20
Misc. Items: $50
Total: $3,049